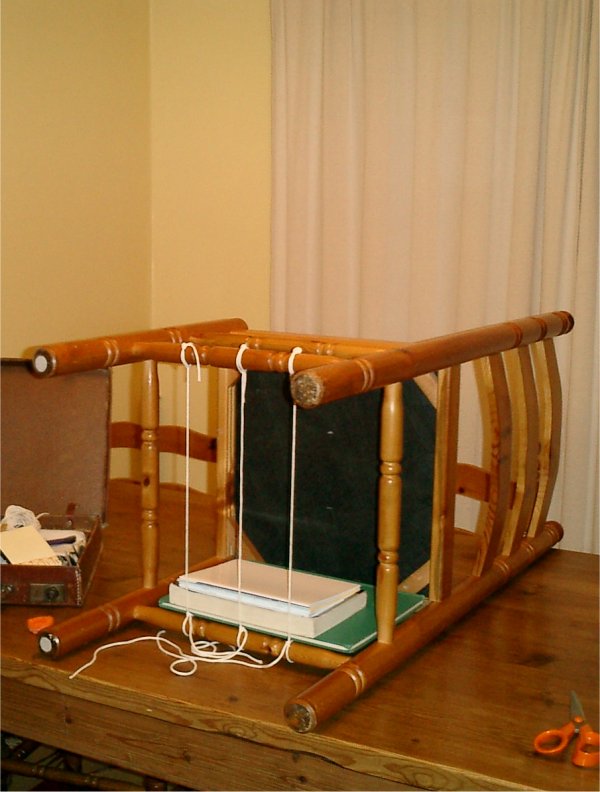
This is the cheapest and fastest form of sewing frame I have encountered. It took me about 5 minutes to set up, and cost absolutely nothing.
There are two things you need to consider in a chair.
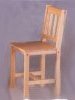 Ideally, they should all be vertical. Chairs where the legs splay to the front and back but are parallel at the sides will also work.
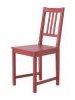
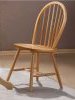 Chairs where all four legs splay are not suitable.
 Your chair does need rungs, ones that can connect adjacent legs.
Rungs that form an "H" shape are not suitable.
Turn the chair on its side or back, depending on the legs and rungs. You want it set up so that the parallel legs and connecting rungs are at top and bottom. If all four legs are parallel and have connecting rungs, select the sides whose rungs are lowest on the legs to be your top and bottom.
Lay something flat and hard on the lower legs, just back from the edges of the lowest set of rungs. (If there's only one set of rungs, make sure the base is wide enough to sit stably on the chair legs.) I used a large green hardcover book in the photos above.
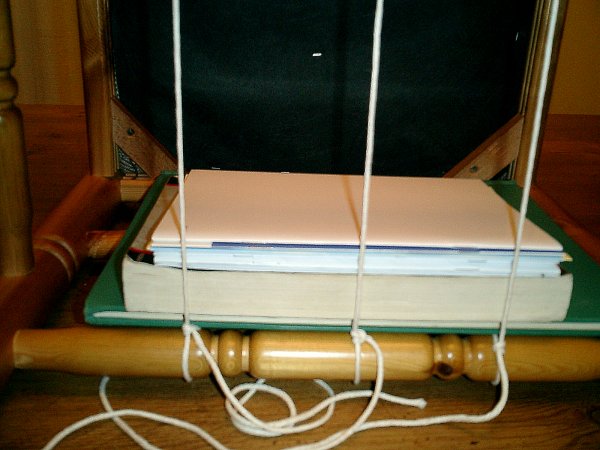 String the tapes or cords between the rungs at the "top" and "bottom" of the space, tying or safety-pinning them in place. Try and get the tension even. It should just "thrum" when plucked. Note that you can tighten tapes and sunk cords after sewing, but raised cord tension cannot be increased. This is because the thread wraps all the way around the cords, but just round one side of tapes.
Put the signatures to be sewn on top of another book, so that you will have enough cord or tape left on both sides of the book, even if you can't untie your knots and have to cut the supports. That's what the greyish-beige mass below the signatures is in the photo above.
Then just sew.