
18 x 11 x 1.5 cm
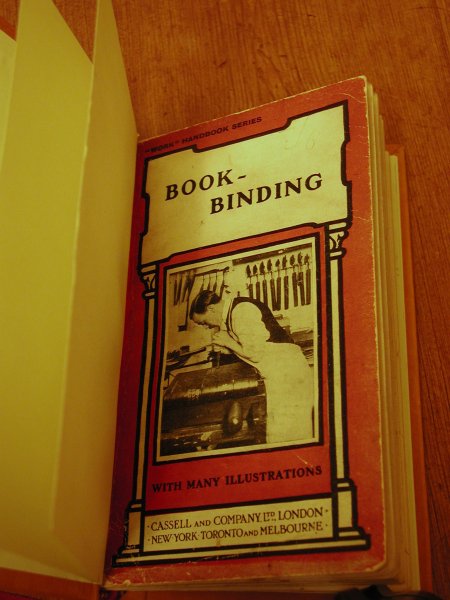
My father went to Durham one day, and came back with a 1920s bookbinding paperback: Bookbinding, by Paul Hasluck, from the Cassel's "Work" series of handbooks. It was signature-stiched rather than perfect bound, and just on the verge of falling apart. It had about one read more in it.
Having read it, I knew I had to rebind it and add it to my library.
 The original binding had the stiff paper covers glued to the first and last pages of the book. The covers plus pages were basically two one-page signatures. The joins were weak, so I needed to fix each fold with a thin strip of rice paper. But after that, I was able to stich them into the binding like any other signatures. I decided on a library style binding, with a tight back and French grooves as the most practical and durable construction. I even hand-stiched the headbands. This is ironic, since the text only explains sewing on sunk cords and the use of stuck-on headbands. (It's aimed at the commercial hand binder rather than the fine binder).
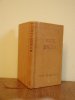
My intentions are always so good. Unfortunately, my skills don't always match up. In this case, it was the backing process that let me down. I've been prone to over-rounding my backs lately, and this book was the most extreme example. An ideal rounding is about 1/3 of a circle. This came out more like two thirds.
The rest of the forwarding process went fine.
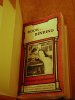
This is a working book, the full calf binding notwithstanding. So I decided on a simple cover design: just the blind tooled title and author on the front, just the blind tooled title on the spine. (Plus, of course, my rooster stamp.) Consistent with 1920's British convention, I planned to letter the spine reading up rather than down. (I have British bindings from as late as 1961 with the lettering reading up.)
Remember what I said about good intentions?
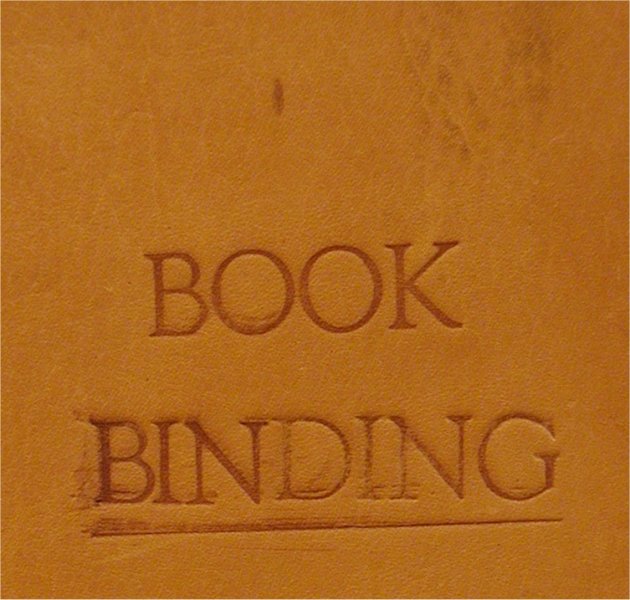 I did the front cover first. For the title, I decided to use my 36pt brass Goudy Old Style type. I arranged it in the type holder, moistened the cover for blind tooling. I heated the holder, touched the letter faces to a damp cloth to test the temperature. Fine. I then carefully aligned the tops of the letters with the guide marks I'd made in the leather with my bone folder...and touched the thumbscrew to the leather above the word "BOOK". Then I tried to do "BINDING", and so carefully avioided touching the thumbscrew to anything that I impressed the opposite edge of the holder in a line just under the text. To top it off, I didn't get the impressions dark enough, and in retooling, I created several delicate ghost images.
 After that magnificent performance, I was happy to fall back to handle letters for the author's name. That went OK, though the "C" in his surname was rotated about 30° clockwise. I suppose it looks jaunty.
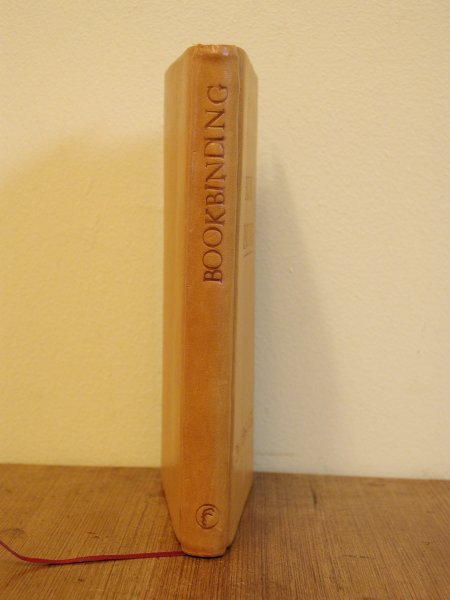 In a gesture of optimism over experience, I went on to the spine, this time using the handle letters for the title. I guess I was rattled, because none of the letters were exactly straight or well-spaced. But the rooster came out OK.
Good thing I enjoy doing all these things, because I'm going to be doing them a lot more.