15 x 21 x 4 cm
Every year, Martin and I make photo albums with the best pictures of the kids from the previous twelve months. The first year we did them, before I started binding, we bought six albums from John Lewis, a British department store. The second year, I bound them myself from scratch, which was a pain (books with guards, to compensate for the thickness of the photos in them, are hard to bind.) This year, I decided to be practical and buy book blocks, then add boards, covering material, and endpapers.
In addition to the six albums we do for the kids (one for each set of grandparents, one for each set of grown aunts & uncles, one for Martin's Grandma McLean, and one to keep), I decided to do two more this year. Two couples very close to us had babies in 2003, and I made each of them a blank album.
The book blocks were mail-ordered from Shepherds Bookbinding in London. I obtained their catalogue at the Society of Bookbinders conference, and was relieved to find an easy source for the hardest part of the album binding process.
When the album blocks arrived, I took an instant dislike to the headbands, which were fairly cheap and nasty looking. They were also familiar somehow...turns out that whoever made the albums we bought the first year had simply covered a set of Shepherds blocks and trebled the price! However, having bought the albums as book blocks, it was simple to rip off the old headbands and add my own beaded headbands.
Later investigation showed another flaw to the book blocks. Of the six albums that I did page counts on (as part of sticking pictures in), one had 30 pages, four had 31 pages, and one had 32 pages. It was an odd inconsistency for a machine-made product.
Despite the minor quibbles about headbands and page counts, I was pleased with the albums, which were made of attractive creamy paper with tissue inserts to protect the photos. I will certainly be buying them again for next year's albums.
I spent very little time in my early bookbinding doing much half 1 and quarter2 binding, being seduced by the availability of cheap leather into doing full3 bindings fairly early on. Although full leather bindings are a pleasure to work with, I also like the look of half and quarter bindngs. So I decided to "backtrack" and half-bind these albums.
I am still very fond of the "library" structure of binding, originally created in the late 1800's to be more durable than the "fine" bindings of the time. Library bindings have tight (as opposed to hollow) backs, but use split boards with French grooves rather than the more formal laced-on boards and weaker tight joints.
To maximise the number of pages in each album, I decided to tip in tissue endpapers rather than paste down the outer sheets as the manufacturer seemed to expect. The tipping in of the flyleaves had to go about a centimeter inward from the spine, however, because there were pen marks on the book blocks at that point. In some cases, I couldn't find the appropriate tissue paper to paste down, and used alternative means (see the individual book descriptions for details.)
A brief explanation of terms might be useful here:
For the inset areas of the bindings, I originally intended to use machine-assisted marbled paper from Hewit's. However, while I was still considering this, I got an invitation to come to a workshop on paste papers and suminigashi. The workshop, run by my local branch of the Society of Bookbinders, encouraged me to learn to hand-decorate papers for the albums instead. The resultant papers were pleasing, but I was worried about their durability on the outsides of photo albums.
I solved this by laminating the pages with a light coat of PVA, a technique I have used to good effect on other bindings in paper. Although it makes the paper somewhat shiny, it also protects it from wear and staining.
Despite our best efforts, I was unable to get a satisfactory pink paper to cover the baby photo album for the friends who had a daughter last year. In that case, I had to use leather for the inset.
 |
|
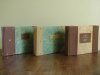
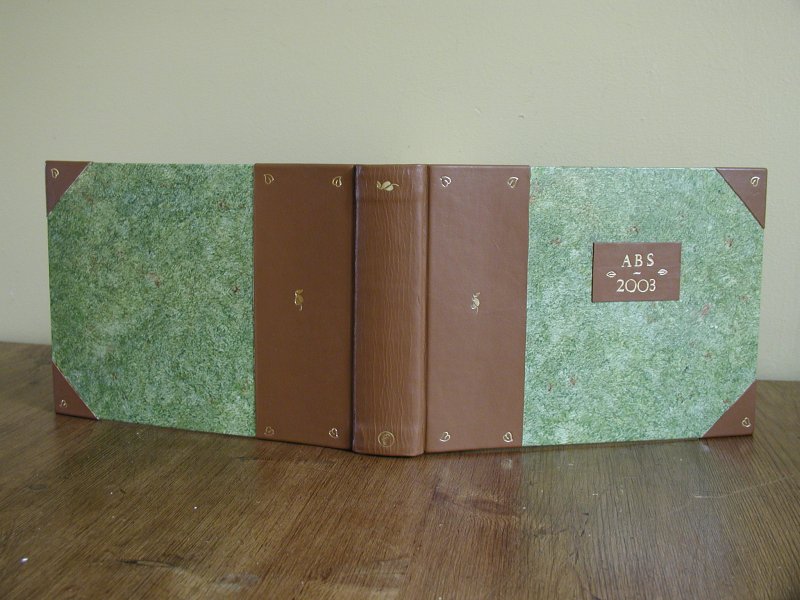
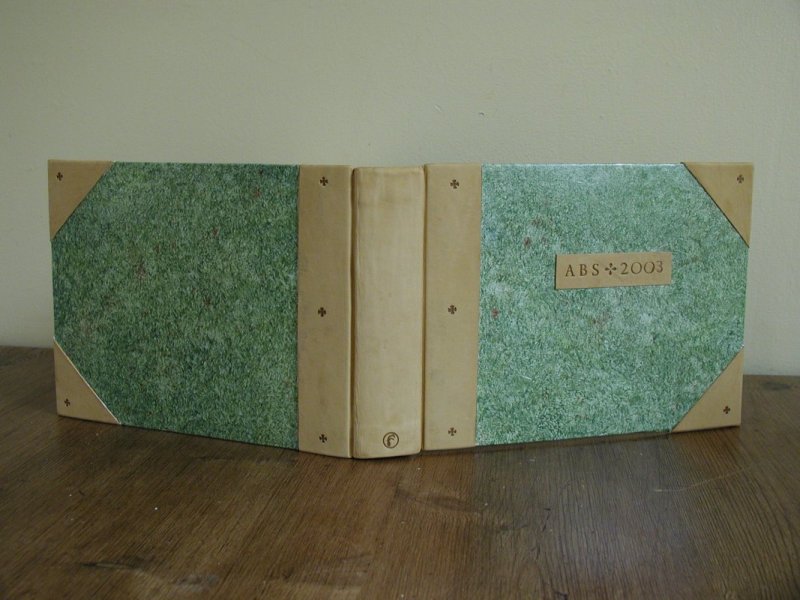
This album used up the final remainders of my first calfskin, given to me by Martin almost two years previously. The corners are rather small, primarily because I had virtually no leather left.
The color scheme on the album was arboreal, with green and gold beaded headbands and the green paste paper. The brown calf spine looked like a tree grunk to me as well. I carried that theme forward with leaf-shaped ornaments for all the tooling. The endpapers were of green tissue.
This album was given to Scott and Angela.
 |
|
 |
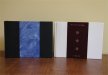
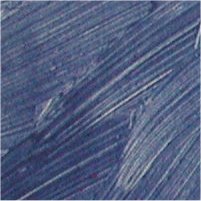
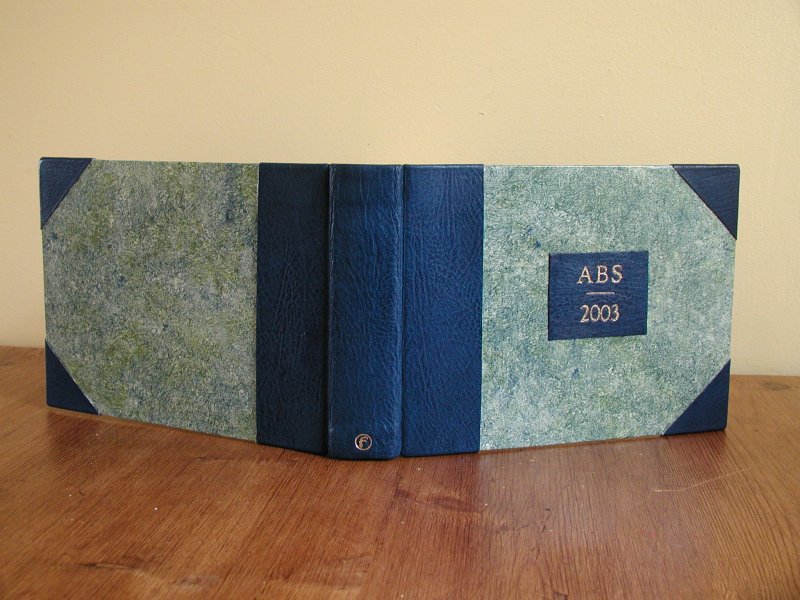
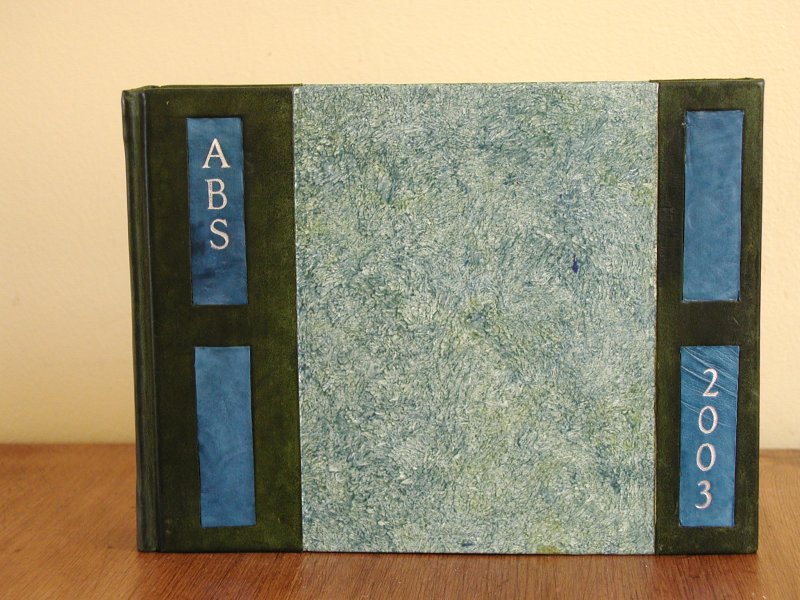
The leather on this album came from an assortment of goatskin scraps I bought from the low value shelf at Hewit's They are a good argument for half and quarter bindings, since there wasn't enough in any one scrap to make a full binding. The color and texture were irresistible, however.
I used some paper I had decorated in blue and green at the workshop for the inset, because the slight color contrast livened up the blue of the leather. The endpapers were of blue tissue and the headbands used blue and metallic gold beads.
The tooling on this album didn't work out very well. It came out gloopy, and when I picked it off to sharpen the lines, the picking destroyed the texture of the leather.
Then, to cap things off, I put the label on what I intended to be the back of the book. There is only a slight structural difference, but it was enough to make up my mind: his album was the one we kept.
 |
|
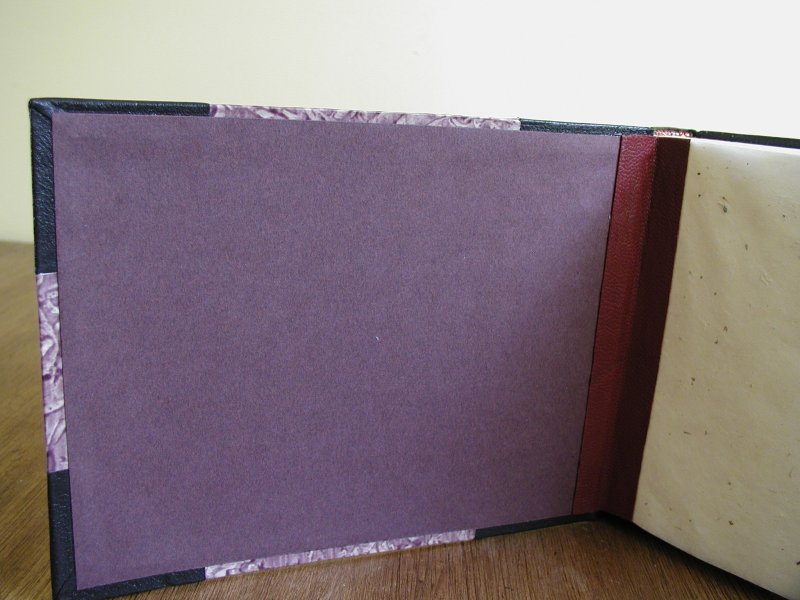 |
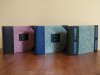
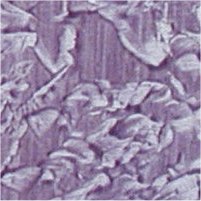
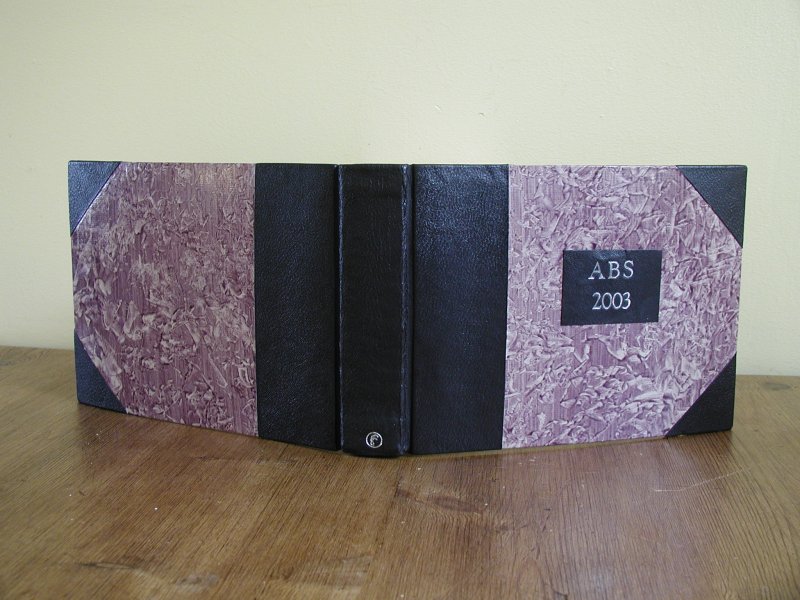
I had my doubts about the overall effect of this album. The spine and corners came from a bag of leather goatskin scraps given to me by Hewit's. I used them primarily to try them out, but was then stumped as to what paper I should use with them.
My final selecton, which I only tried out on a whim, was a purple paper that left me relatively uninspired at the workshop. I liked the texture - created by "pecking off" the paste with a crumpled up ball of paper - but the color didn't sing to me. But the paper and leather, both a bit drab on their own, proved surprisingly attractive in combination.
I wasn't able to find a tissue paper that went with the paste paper, but I did find some stiff colored paper in exactly the right shade. I made flyleaves of thin handmade paper from Nepal, then glued down the colored paper to the insides of the boards. To cover the joints, I used narrow strips of deep red leather. Although it didn't go perfectly well with the rest of the colors, the leather joints did pick up the red and gold beaded headbands.
Because my mother in law expressed a preference for it, this album went to Alex' grandparents Sutherland.
 |
|
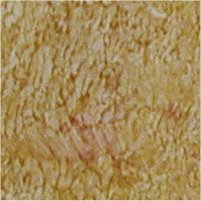
This album used some of my favorite leather, a soft golden goatskin that Martin got for me almost two years ago. I used it in the experimental approach to bookbinding, and loved it so much that I kept the book I used it on. I've been hoarding it since, but am trying to get out of the habit of saving leathers instead of using them.
I paired the leather with some green paste paper from the workshop. The green, which had seemed a little insipid on its own, came to life with the yellow leather, and both of them went well with the blue and yellow beaded headbands.
The yellow leather blind tools beautifully, and I took the opportunity to try out some of my smaller geometric ornaments. The endpapers in green tissue were possibly a bit dull, but the overall effect was pleasing.
This book went to Grandma McLean.
 |
|
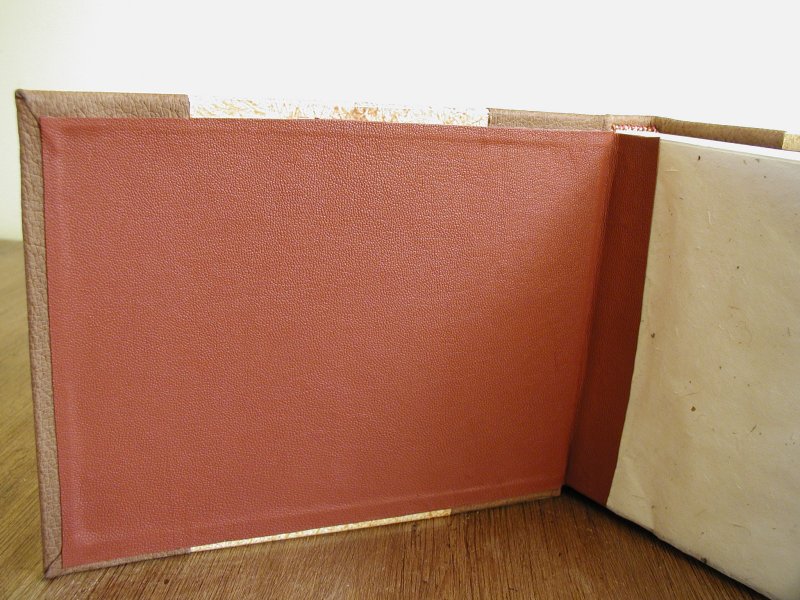 |
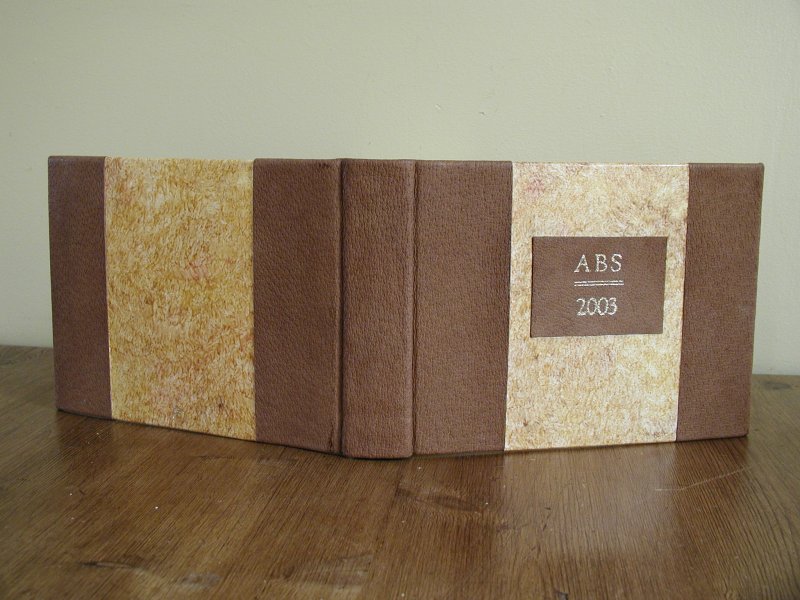
I bought this leather not for bookbinding, but for uphostery. Martin's chair needed recovering, and the pigskin-type texture appealed to me. (It may actually be pigskin - the grain is even coarser than goat. Although highly stretchable, it clings well when pasted up, and was a pleasure to work with.
I hadn't any paper to go with it, however. Not only was there just too little left over from the workshop, but none of it really went well with the leather. So Alex and I spent a very pleasant hour or two one Saturday making some more paste papers. This was the best of the lot. However, I couldn't find any endpapers to go with the color combination. In the end, I used a scrap of orange skiver I had bought at the Society of Bookbinders conference to make leather doblures. They overlapped the joint, covering up the ends of the tipped-in Nepalese tissue flyleaves.
The brown leather turns out to tool very badly indeed, probably due to its coarse grain. Although I managed to get the label tooled well enough, I decided to tool my rooster emblem into the paper rather than onto the leather.
Because my father expressed a preference for this book, it will go to my parents.
 |
|
 |
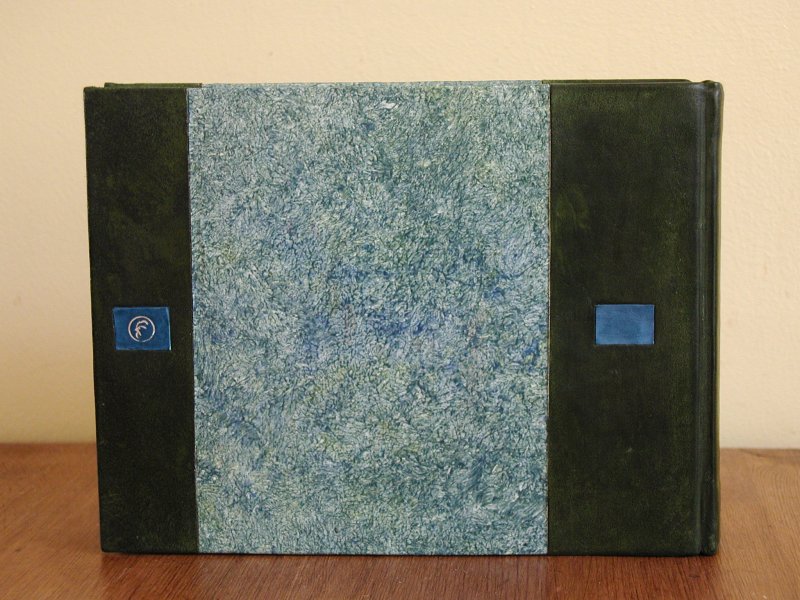 |
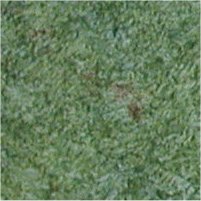
This album was a lesson in disaster recovery. I suppose, considering the history of the leather, I shold have expected nothing different. Hewit's originally prepared the green goatskin for an upholsterer, who then cancelled the order. They scraped the hide down, giving it a lovely suede texture, but found it unsaleable. (I appear to be the only one who loves it; I've used it on other bindings as well.)
Unfortunately, when sticking the blue-green paste paper down, I got some PVA on the leather, and it darkened it irretrievably. I had already decided not to use a label on this album - the proportions just looked wrong for one. But the silver tooling failed completely to stick to the suede. So there I was with a stained, marked album.
Necessity, they say, is the mother of invention. I tooled Alex' initials and the year onto some small scraps of "Wegewood blue" calf that I'd obtained from a remnants bin at Hewit's a year ago, then inlaid the calf into the green leather. It conveniently covered almost all of the mistooling and staining, and gave the books a "Charles Rennie McIntosh" look. Adding narrower blue insets to the back cover tied the design together, and a coat of leather food evened out the colors. Suddenly, rather than being my worst album, it became one of the best.
I added blue tissue endpapers and will be sending the book to my brother and his wife shortly.
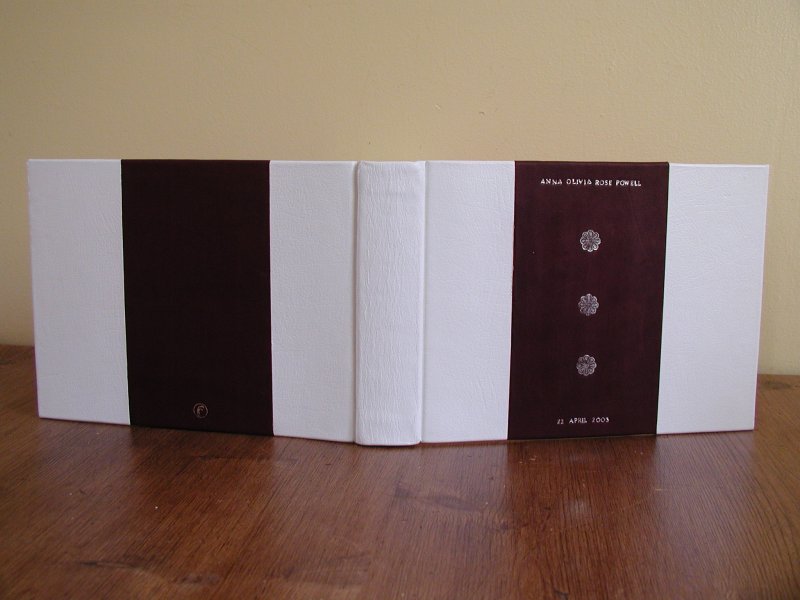 |
In April of this last year, my friends Fiona and Andrew had a beautiful daughter, Anna Olivia Rose. I thought an album in classic "girly" colors would make a good Christmas present for them, and so included this in the annual album-making.
The spine is made from some goatskin that appears to have been painted white rather than dyed. It was difficult to work with, because the paint tended to soften and scrape off when the leather was damp. However, I have learned a thing or two in the last two years of leatherworking, and I managed to finesse the issue.
The inset panels turned out to be a problem. I wanted to use something pink, either paste paper or Suminigashi (Japanese marbling). But I couldn't get a satisfactory result in either. Eventually, I remembered some deep rose basil goatskin that made a suitable inlay. Together with some baby-pink tissue endpapers, pink and white beaded headbands, it made for a feminine but not insipid album. I added Anna's full name, her date of birth, and some floral ornaments in silver to complete the look.
 |
 |
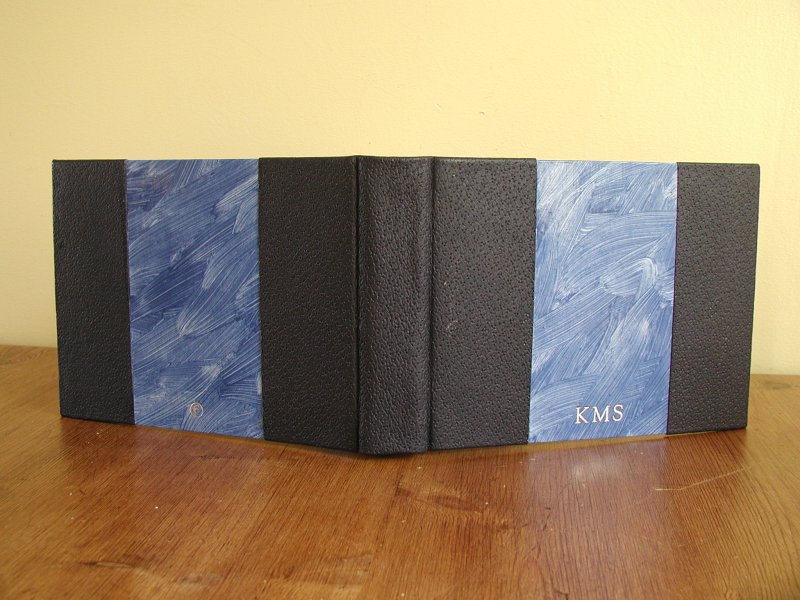
It's been a good year for babies. In addition to Anna, we had a birth in the family: my brother in law and his wife had a son, Kyle Matthew Sutherland, on the first of November. I delayed starting this binding until then, so that I could get the colors right.
The blue spine and fore edges were done in a textured goatskin that Martin gave me with my first set of leathers. I don't know why I keep using the stuff - it's been a nightmare to work with, refusing to stick and almost entirely un-toolable. Using it for last year's albums left me all but in tears. But again, an extra year's experience paid off. Figuring that it was just too dry, I soaked all of the leather in water before even beginning to try to paste it down. This caused it to soften enough to bend around the corners of the boards, so that the wheat paste had a chance to stick it down.
The paper insets were an experiment on the day of the paste paper workshop - I wanted to see what a random brushing patern would come out like. Not only did it look good, but the paper turned out to be very easy to tool, meaning I didn't have to worry about getting any lettering on the leather. With its blue and gold headbands, and its blue tissue endpapers, I felt that this book was a good gift for a baby boy. But I couldn't have bound it a year ago.
Tooling continues to be a weakness in my binding. It seems that I rely more on luck than on skill. Certainly, in the case of these albums, I ended up staying up till 2AM one night tooling because I just "got lucky" and didn't want to waste the good fortune.
On the other hand, most of the binding skills that I now have started out as luck: rounding and backing, leather paring, and trimming books were once this difficult. I am confident that I'll master tooling in time.
Never use water-soluble PVA to seal paper, or indeed for any operation where the glue itself will be exposed to the atmosphere. Any sort of dampness in the air - even the steam from boiling pasta in the next room - will cause it to soften and go tacky again.
This happened to me when I had three of the albums covered. I sealed the paper with reversible PVA, let them dry, then stacked them while I went off to make Italian food for dinner. They stuck together almost instantly, and one of them was badly damaged in the separation. Naturally, it was the only one for which I didn't have enough paper to re-do the insets.
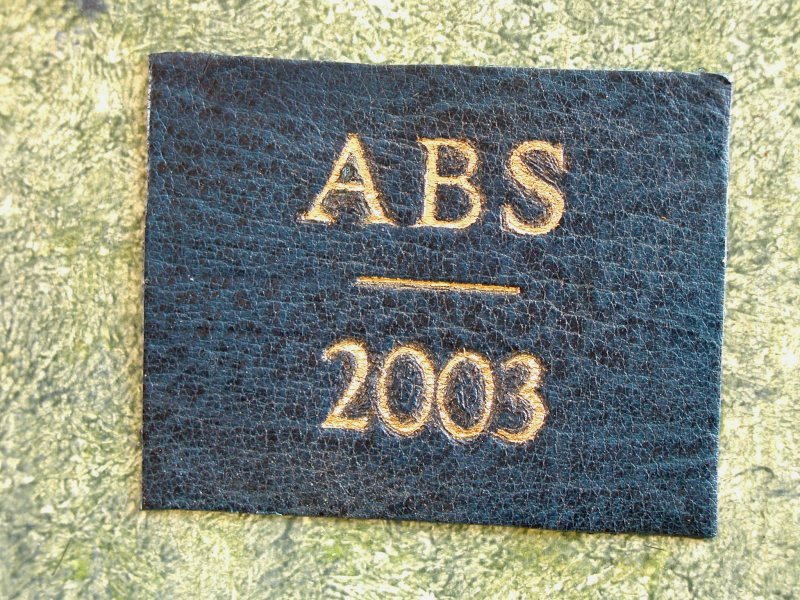
This is, I confess, the inspiration behind the leather labels on the albums (and I'm grateful to Martin for suggesting it.)
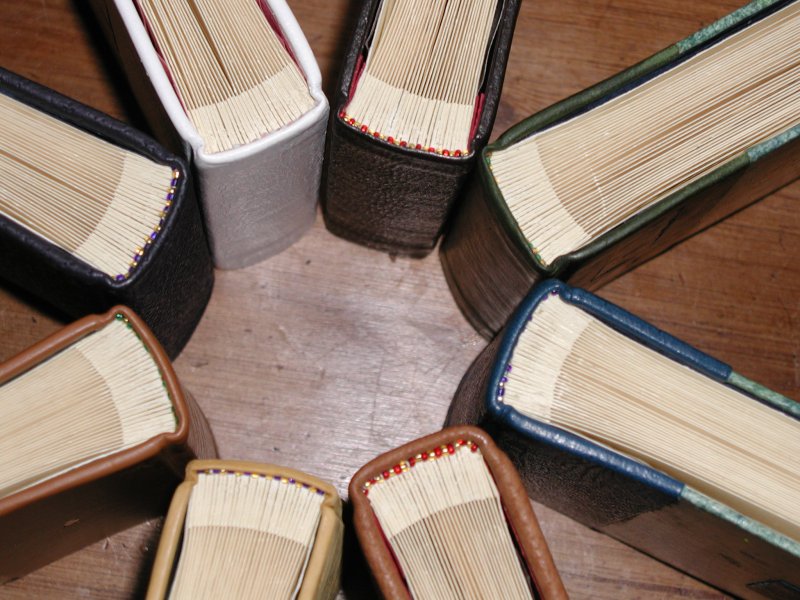 One of the most valuable moments in the Society of Bookbinders conference this year was the brief demonstration of setting a headcap. Finally, I know what one is, and what sort of effect I'm aiming for. Although none of the headcaps in the albums were perfect, I am pleased with the effect.