|
Although my book press sewing frame is excellent, it is not very portable, particularly since I had it remade in steel. When sewing on another floor in my house, or outside of the house, I wanted something smaller. | |
 Having it capable of holding its own hardware was a bonus.
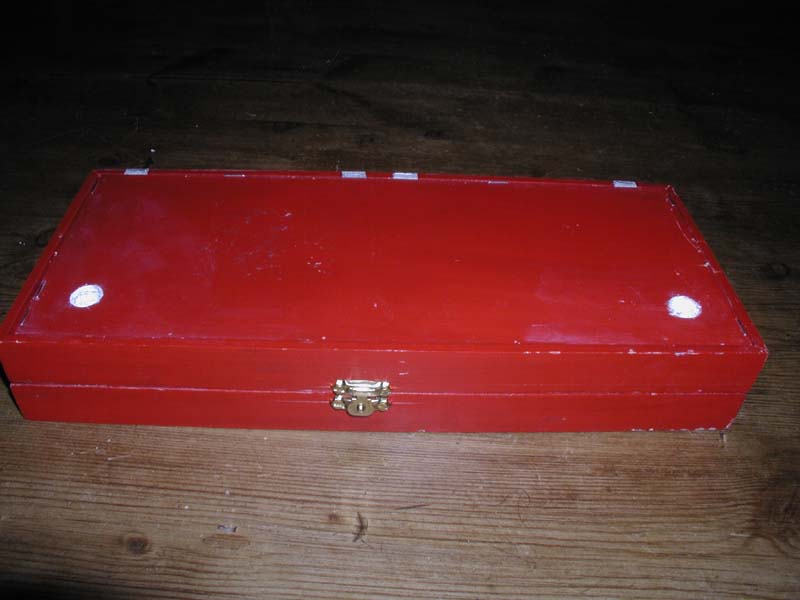
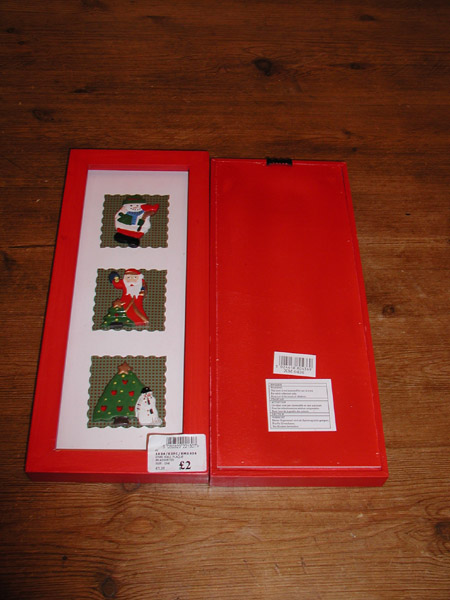 I started with two "box-type" picture frames. They were the cheapest, nastiest ones I could find, costing Ł2 each, but they had the correct proportions. I needed them to be at least 33cm tall, no more than 15 or 20cm wide, and at least 6mm deep (inside measurement). It was only later that I realised all I needed was a sufficiently large chess board box, but having started with the picture frames, I thought I would continue.
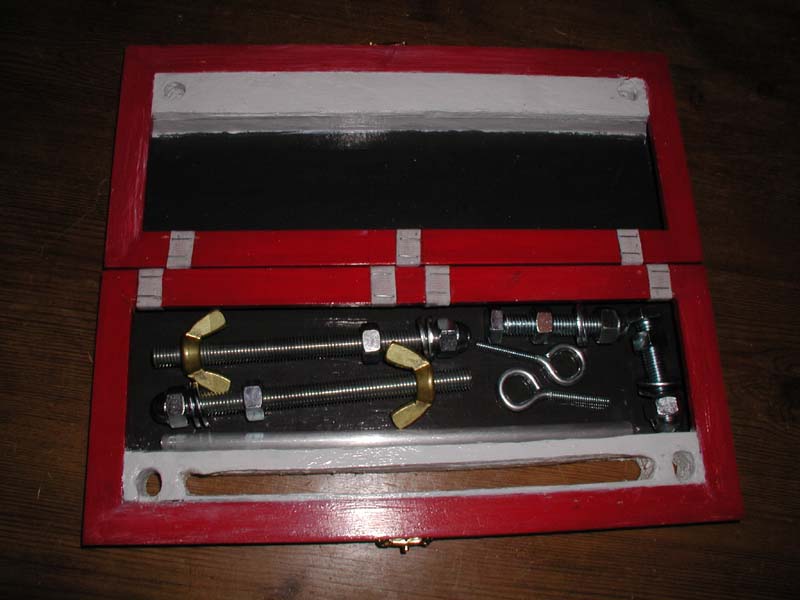
Unless you fill in the front edge of the box (in white on my box), once you cut your sewing slot all your contents are going to fall out. There is also a risk that the thin strip of wood beside the sewing slot will break. To stop this, fill each front edge of the box with a piece of wood and glue it down.
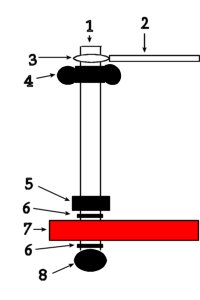 |
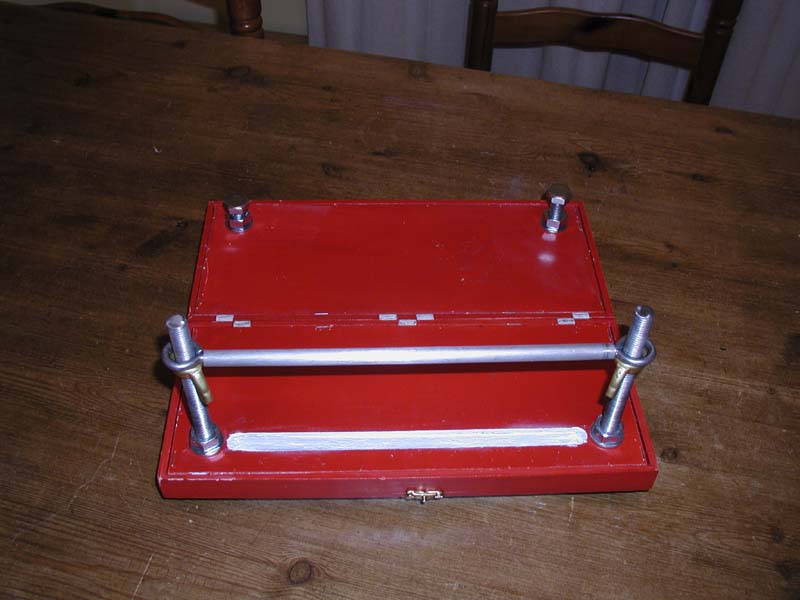
1. Threaded rod 2. Aluminium tubing for crossbar 3. Eyebolt 4. Wing nut (mounted upside down) 5. Hex nut 6. Washer 7. Sewing frame table 8. Cap nut |
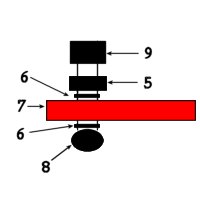 |
5. Hex nut 6. Washer 7. Sewing frame table 8. Cap nut 9. Bolt (head upward) |
I spent a lot of time making cloth hinges for the picture frames. Then I realised that a chessboard box would have done just as well. Still kicking myself on that one.