| Go to Site Map | ||
 |
 |
 |
|
Click on a ribbon to follow a specific book |
||
| Go to Site Map | ||
|
|
|
|
|
Click on a ribbon to follow a specific book |
||
This step was performed on the green and red books.
The green and red books were bound with split boards. The basic philosophy of this binding style is that the entire book structure is attached to the book block. This includes the hollow back.
To make the hollow back, I took some stiff, plain paper. It had to be heavier than kraft paper. I cut a piece a centimeter longer than the book and about three times the width of the spine. It was important to make sure the paper grain ran vertically.
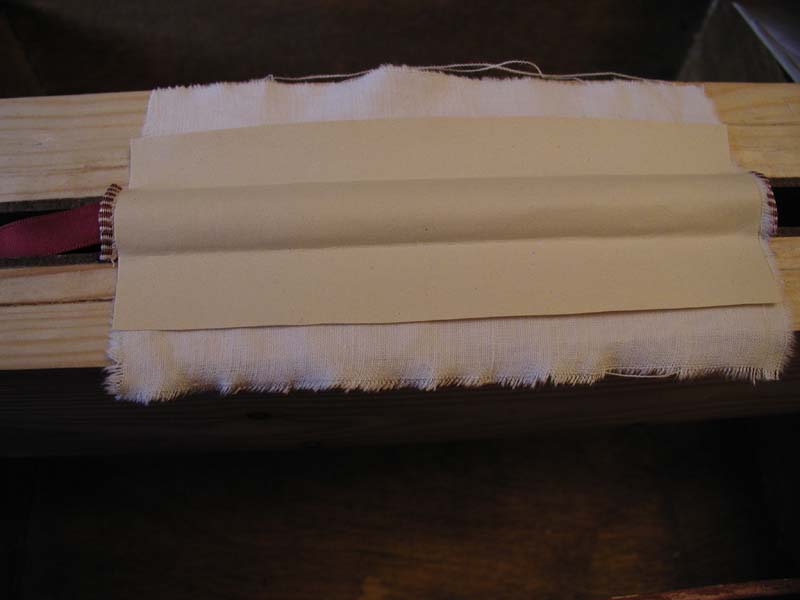 I folded the paper in thirds and creased the folds with the bone folder. Then I unfolded it again, and turned it over. I brushed the middle section of the folded paper with PVA, making sure the paper was sufficiently soaked to be flexible. Then I brushed some glue on the fabric on the back of the book block. I placed the glued section of the hollow back onto the spine of the book and rubbed it down with a bone folder.
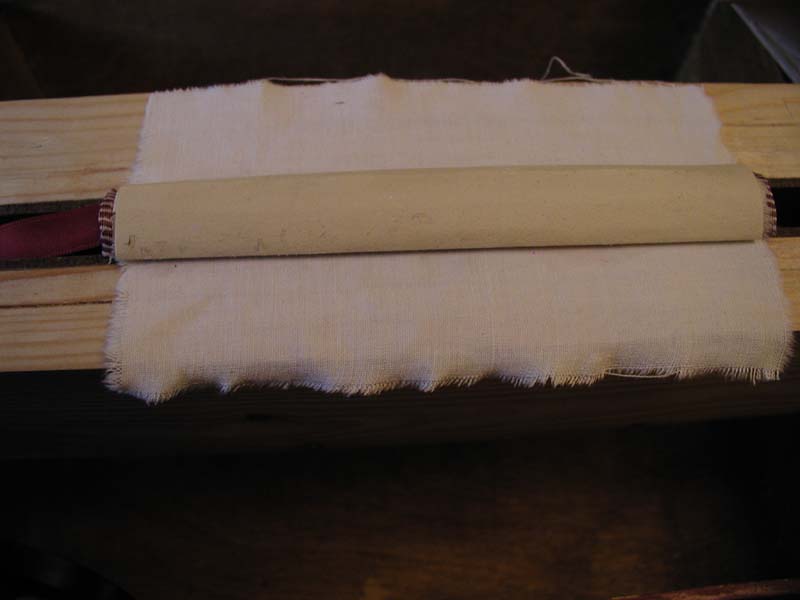 Then I put glue on the underside of one of the open flaps. Folding it over the middle section, unglued side to unglued side, formed the inside of the hollow back. Folding the final third over, sticking it to the other third and rubbing it down, finished the job. When doing this yourself, don't open your book yet or the whole thing will come off.
So then I had finished the spine. There was one last step before I set it aside to dry. I had to make up the tabs to slip into the split boards. These were to form the hinges between the book block and the covers.
I already had the most important element of the tabs - the long ends of the cords or tapes and the flaps of fabric. For the book sewn on cords (the green book), I started by fraying the cords out until they lay flat. Then, for both books, I brushed the outer leaf of the book (the waste leaf) and brushed it with glue. I stuck the tapes or cords down onto the glued paper and brushed them with glue. Next I added the fabric tabs and glued up again. Finally, I folded the waste leaf over on itself, fore edge to the spine. This was the first tab; the second was done in the same way.
Then it was time to clamp up and leave all the glue to dry. I put pieces of aluminium flashing in between the tabs and the book block, to prevent the shape of the cords or tape from denting the interior of the book. For the same reason, I ensured that the ribbon wasn't inside the book. After the flashing was in place and the ribbon out, I wrapped the book block in waxed paper with the spine still showing. I clamped the book tightly into a book press and left it for 24 hours.
| Go to Site Map | ||
 |
 |
|
|
Click on a ribbon to follow a specific book |
||