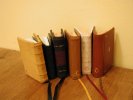
I have been hiding miniature blank books in geocaches for some time. If anything is my "signature item", it's a tiny leatherbound book. So when a geocaching social event came up in my area, I knew I had to bring some "mini-tomes". I bound a set of five from spare scraps of paper, then finished off a sixth that had been hanging around for months.
Most of the books were sewn "unsupported", meaning that they had no tapes or cords on the spine. Instead, they were held together with kettlestitches. Although (in theory) kettlestitching is less strong than supported sewing, the reduction in bulk was worth the loss of strength. Books of that scale will never see the heavy use of, say an A4 lab notebook, and the use of supports would make for a thick, clumsy spine.
The unsupported volumes also used split boards. However, unlike the split boards in the ribbons experiment, these used a Harrison groove rather than a French groove.
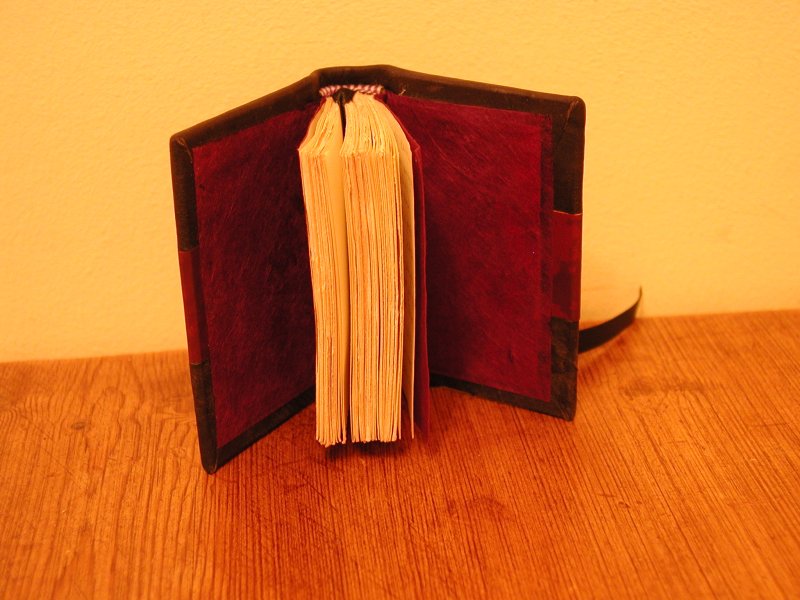
8.5 x 6 x 2.1 cm
 |
 |
 |
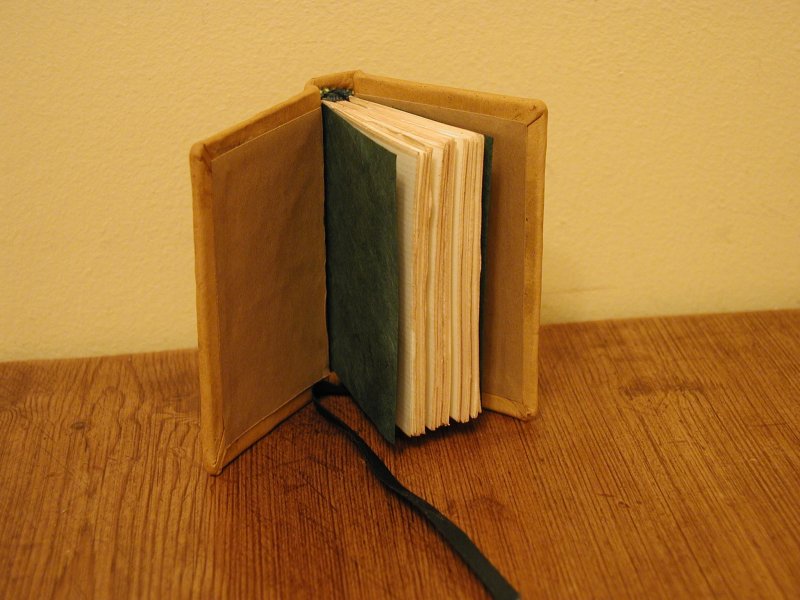
8.5 x 6 x 2 cm
 |
 |
 |
8.5 x 6 x 2 cm
 |
 |
8.5 x 6 x 2 cm
 |
 |
8.5 x 6 x 2 cm
 |
 |
 |
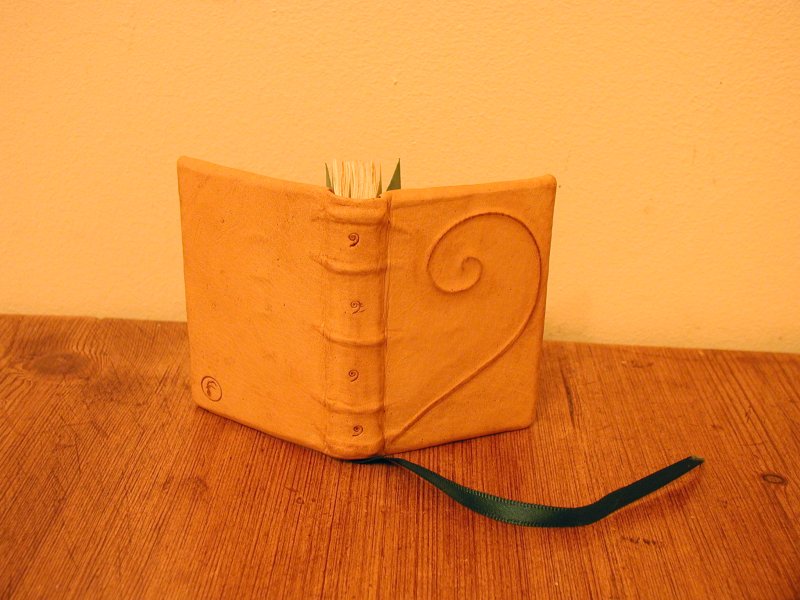
7.1 x 8.4 x 1.5 cm
 |
 |
 |
In theory, the Harrison groove is an ideal compromise between a tight joint and a full French-groove library-style binding.
Although this structure is good in theory, I don't think it is appropriate for small books. All of the books with Harrison grooves tended to open clumsily and shut poorly. I suppose this is inevitable - both the leather and the paper are thicker in proportion to the books. I need to use structures that minimise the amount of material caught in the opening or closing of the boards to reduce the impact of the thickness.
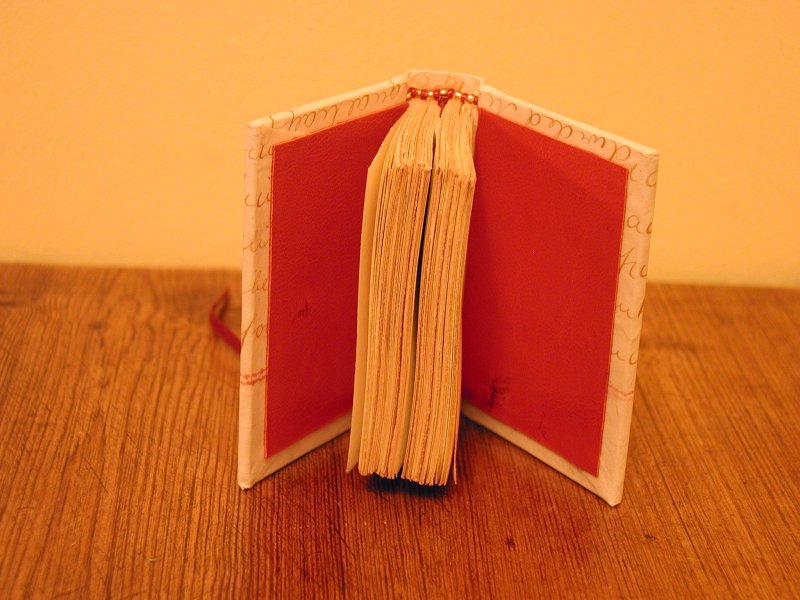
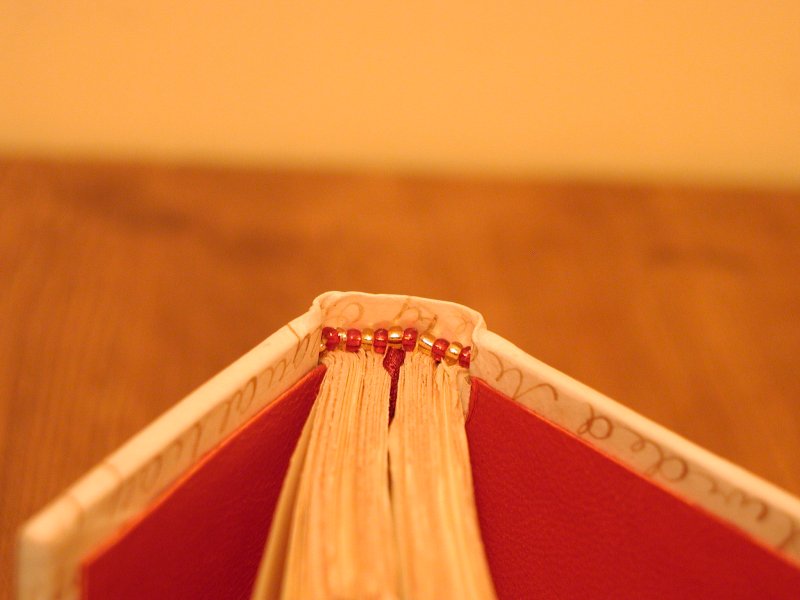
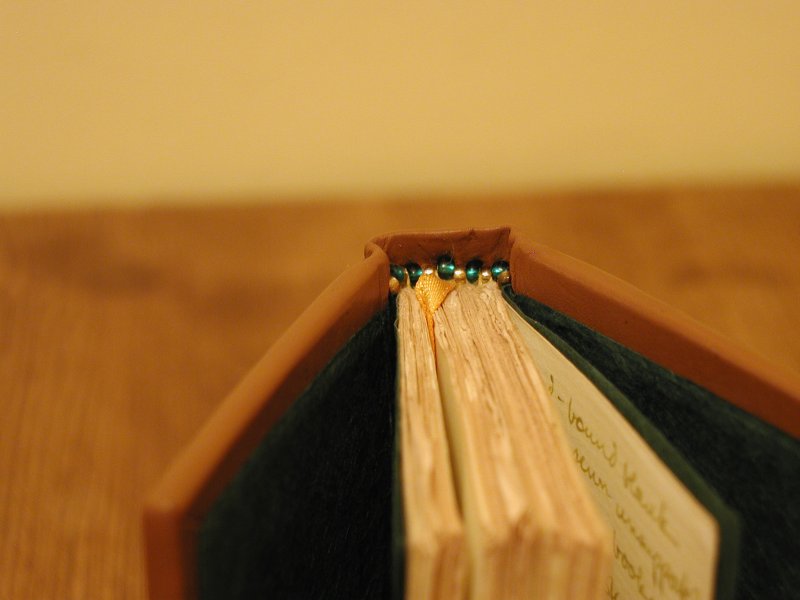
 This is a medieval practice, a development of the original nature of the headband (simply the top and bottom supports of the book). In addition to using the cords on which the signatures were sewn to attach the covers to the book, one uses the string at the cores of the headbands.
Lacing the cords straight across isn't a good idea, because they pierce the cover material very close to its edge. Instead, I laced them in at about a 30° angle off the square, acute enough to bring them away from the edges but oblique enough that they didn't cross the other lacings.
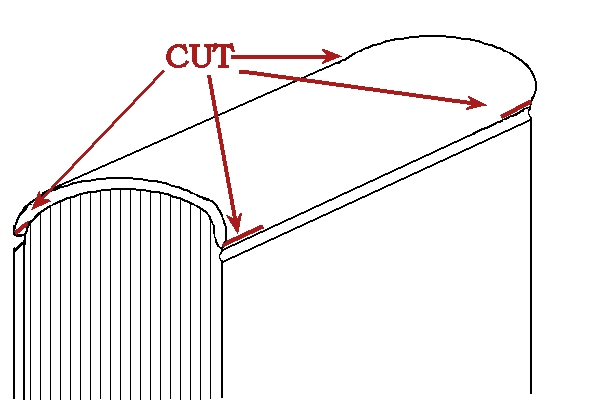
That in itself wasn't a problem. The problem came when I then tried to cover the book with leather. The spine is the tricky bit, as always. Usually at that stage, one leaves the covering material intact and cuts whatever gets in the way (slitting the hollow on a hollow back book, cutting the tabs down on a split board binding if they're too high up). Obviously, one can't do this with headband cores, or what was the point of lacing them in fhe first place? The alternative is to cut the leather to go around the cords. A single slit on either side of the spine at head and tail would do it.
 Unfortunately, I made the cuts too long. When I then wrapped the leather round the book, the spine side of the boards showed above the headbands. And the mauling I did to the leather to try to keep the slits from reaching to the top fold meant that there wasn't enough leather left for headcaps.
Next time, I'll make smaller cuts. Or, more likely, not lace the covers on with headband cores at all.
Although I have seen a demonstration of how to set a headcap, I still do it remarkably poorly. I'm willing to be patient with that, and let practice make perfect. The problem has been with shaving the leather at the tops of the spines.
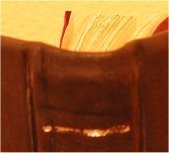 The purple and black book is the best example of the effect that I would like to avoid. In my rush to get the books covered in time, I didn't shave the top and bottom of the spines well enough. Ideally, the very top of the spine should be feather-edged so that it doesn't leave a visible ridge under a tight back. The leather lower down, which will cover the feather edge, should be thick enough to hide any lumps.
 So, ideally, the profile should be even until the very end, followed by a long drop-off.
 Unfortunately, I pared the leather with a much shallower angle of cut, starting much higher up on the leather. This meant that the leather covering the very edge was too thin, and showed the lump.
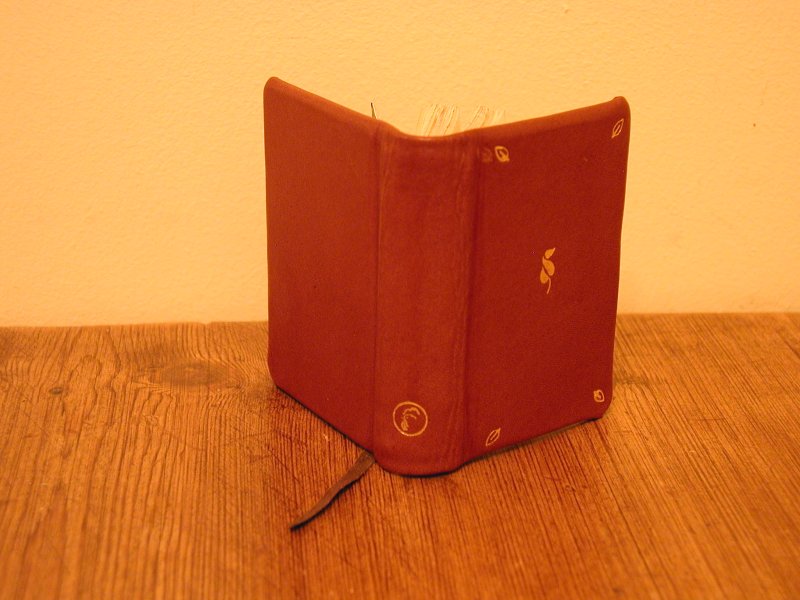
You would think I would learn. After binding the G.K. Chesterton book for my father, I vowed to start doing proper gold tooling, with gold leaf and glaire. But, as so often happens, I was in a rush to finish the books, and fell back on the faster technique of using foil. As you can see from most of the images above, the tooling ended up patchy and gloopy as a result.
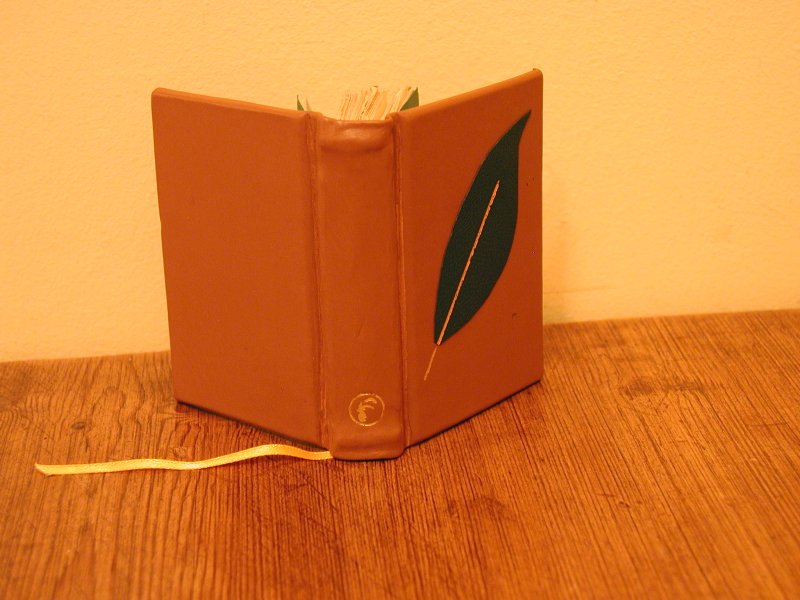
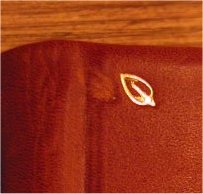 A more serious problem ocurred with the "Leaf Tooled Book". The initial attempt at tooling the top left corner of the front cover was a disaster - leaf ended up in the groove between the shoulder of the spine and the boards. I used a toothpick to pick off the gold foil, then re-stained the exposed leather with shoe polish. Although the mark shows, it is relatively inconspicuous.
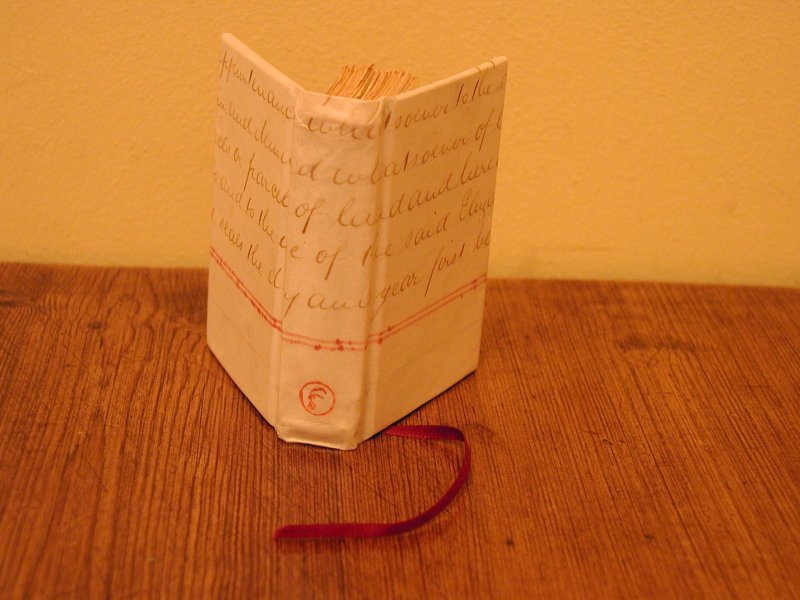
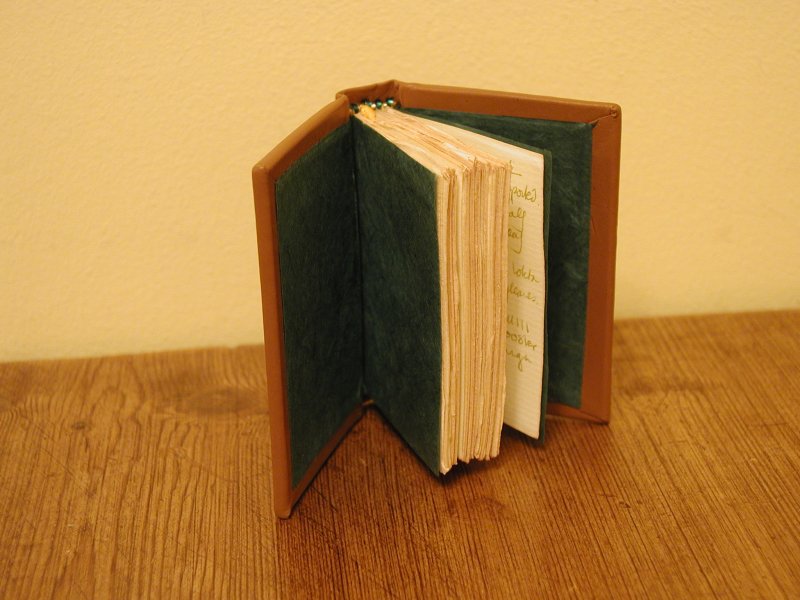
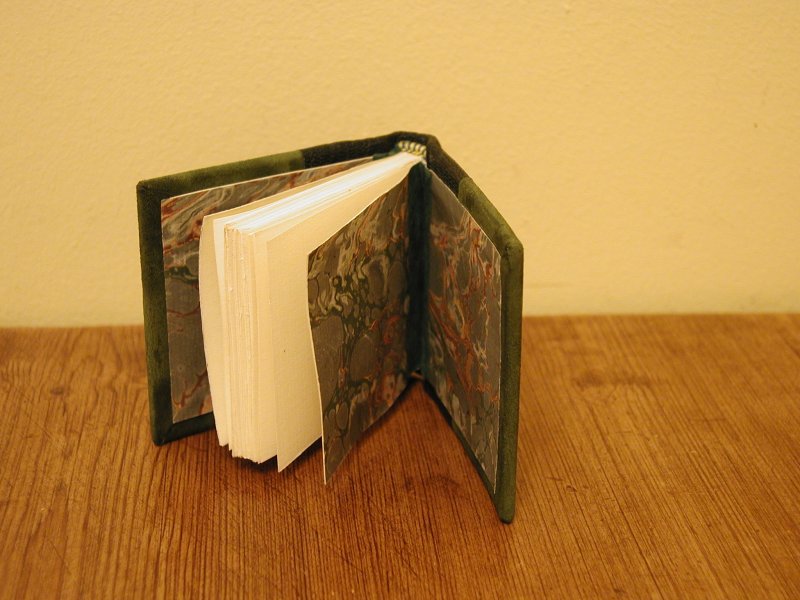
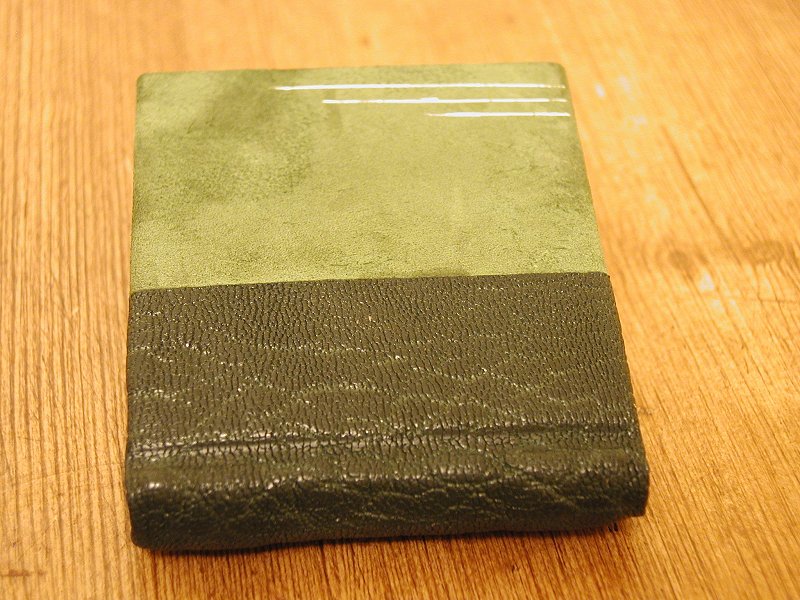
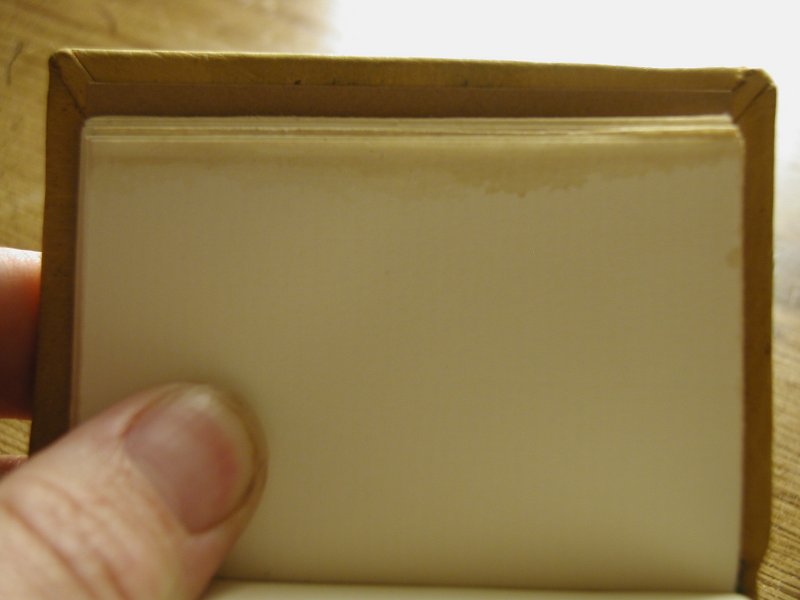 Once again, I felt like ageing the pages on some of the books. For all but the green quarter-bound book (which was started before the others), I painted the edges of the pages with strong tea, then compressed the volumes to keep the wrinkling to a minimum. It darkened the edges of the pages nicely. I really like the effect, and will be doing it again.